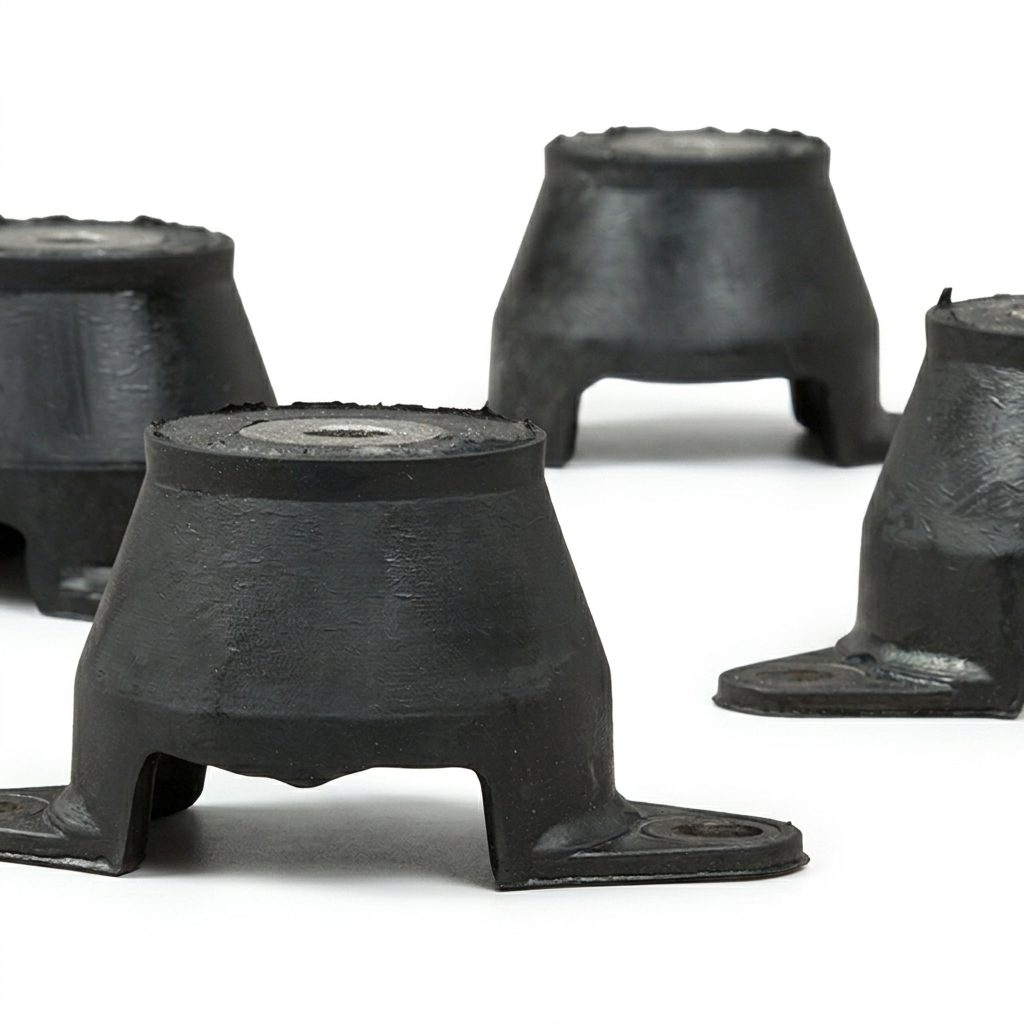
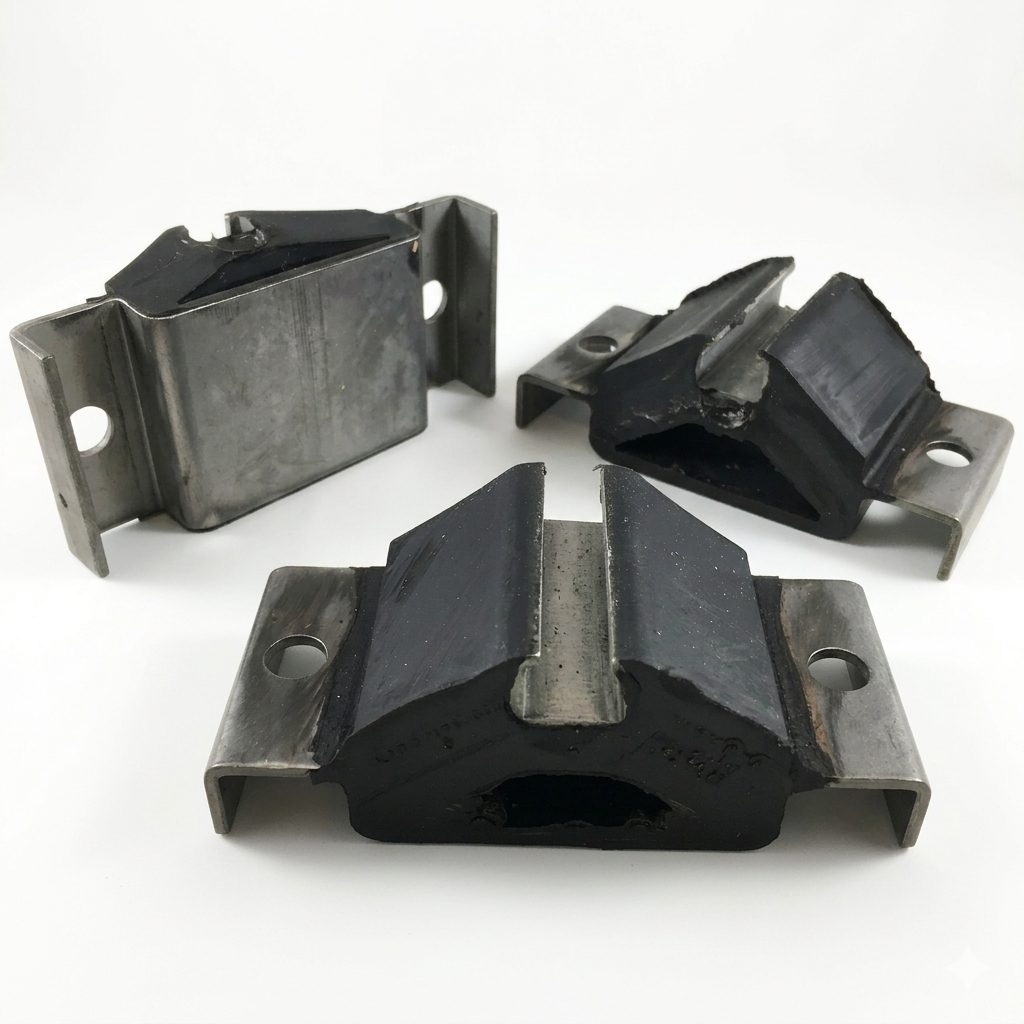
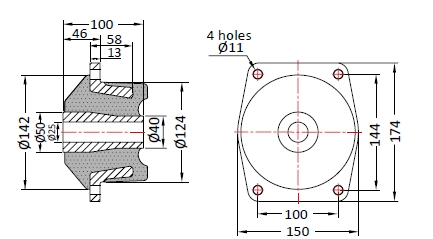
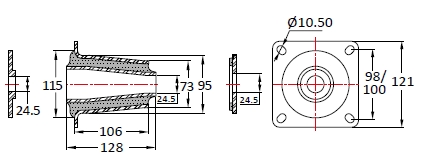
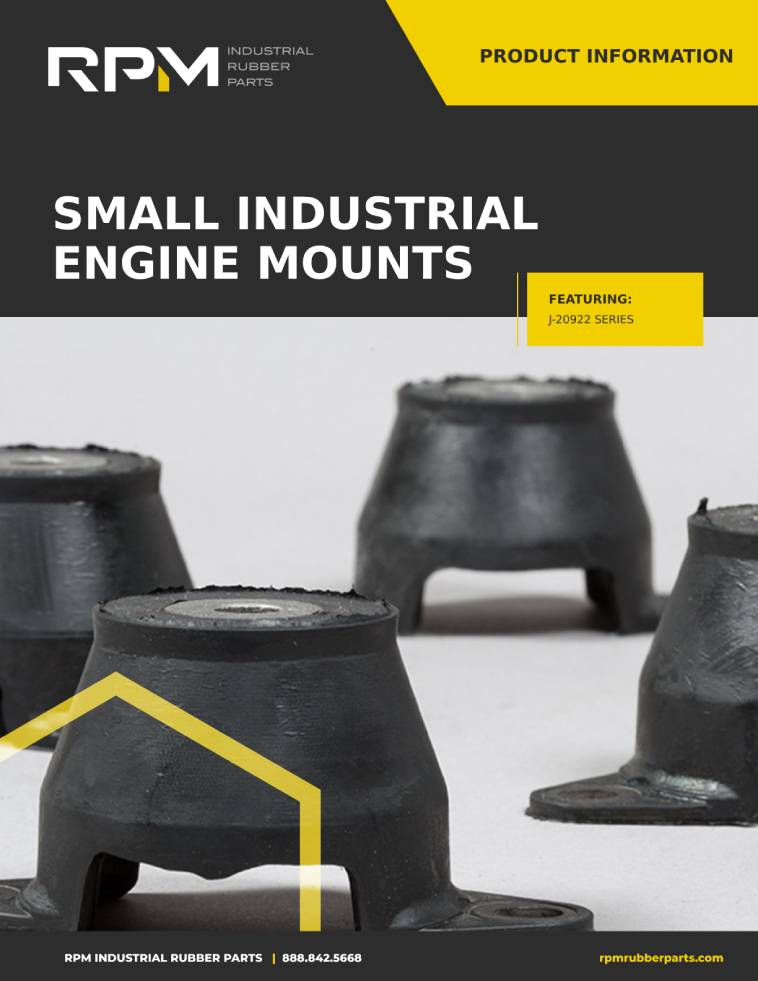
Ask an engineer what makes one rubber mount different from another that looks identical, and the answer usually comes down to a single number: durometer. It is the most-quoted spec on a vibration mount and the one most likely to be chosen by feel rather than by math. Pick it well and the mount deflects the right amount, isolates the vibration you care about, and carries the load without sagging. Pick it poorly and you get a mount that either bottoms out under weight or passes vibration straight through. This guide explains what durometer actually measures, the tradeoff it controls, and how to land on the right hardness for your application.
What Durometer Actually Measures
Durometer is a measure of a material’s resistance to indentation — in plain terms, how hard the rubber is. It is measured by pressing a standardized spring-loaded probe into the material and reading how far the surface pushes back on a scale from 0 to 100. The higher the number, the harder the rubber.
Most vibration mounts are measured on the Shore A scale, which is built for flexible elastomers. A soft, pliable rubber might read 40 Shore A; a firm, dense one might read 70 Shore A. For a sense of scale, a rubber band sits somewhere around 25 Shore A, a car tire’s tread lands near 60–70, and a hard shopping-cart wheel is up around 90. When rubber gets hard enough that the Shore A scale runs out of resolution — think a hard hat or a skateboard wheel — measurement shifts to the Shore D scale. For the vast majority of anti-vibration mounts, isolators, and bushings, you will be living in the Shore A range, most often between about 40 and 70.
It is worth clearing up one common point of confusion right away: durometer describes hardness, not the rubber compound itself. Natural rubber, neoprene, and silicone can each be manufactured across a range of durometers. Hardness and material are two separate decisions — this post is about hardness; compound selection is its own topic.
Why Hardness Drives Everything Else
Durometer matters because hardness sets stiffness, and stiffness sets how a mount behaves. A softer mount (lower durometer) compresses more easily, so under a given load it deflects further. A harder mount (higher durometer) resists compression, so under that same load it barely moves. That single difference cascades into the two properties you actually care about.
The first is load capacity. A harder mount can carry more weight before it over-compresses or bottoms out. Put too heavy a machine on a mount that is too soft and it will squash down past its useful range, lose stability, and may fail early. So heavier loads generally push you toward higher durometer.
The second is isolation performance, and here the relationship runs the other way. As covered in Vibration Isolation 101, isolation depends on the mount’s natural frequency sitting well below the frequency you are trying to block, and a softer mount — because it deflects more — produces a lower natural frequency and therefore better isolation. Softer is better for isolation; harder is worse.
That is the whole tension in one sentence: harder carries more but isolates less, and softer isolates better but carries less. Choosing durometer is choosing where to sit on that line.
Do you really know everything about designing with rubber parts?
Get a free and valuable resource for finding or custom designing the exact part you need.
The Tradeoff, Made Practical
Because those two demands pull in opposite directions, the right durometer is the softest one that still safely supports the load. You want the mount to deflect as much as possible — that is what buys you isolation — right up to the point where any softer would let the equipment over-compress or wobble. Land there and you get the lowest natural frequency your load will allow.
In practice this is why the same machine can call for different durometers at different mounting points. A motor whose weight sits unevenly across four feet may need firmer mounts under the heavy corners and softer ones under the light ones, so that every mount deflects by a similar, healthy amount. Uniform deflection across the mounts keeps the equipment sitting level and isolating evenly — and it is a big reason durometer should be matched to the load each mount actually sees, not chosen once for the whole machine.
How to Choose the Right Durometer
Getting to the right number comes down to a short sequence. First, work out the load on each individual mount, not just the total weight of the equipment — distribution matters as much as the total. Second, identify the frequency you need to isolate, which is usually tied to the machine’s operating or shaft speed. Third, choose the softest durometer that carries that per-mount load within the mount’s rated deflection range, because that softest safe option gives you the lowest natural frequency and the best isolation. Manufacturers publish load-versus-deflection data for each mount and durometer precisely so this can be matched rather than guessed.
A useful sanity check sits underneath all of this: static deflection. The amount a mount sinks under the equipment’s static weight is directly tied to its natural frequency — more deflection means a lower natural frequency and better isolation. If a mount barely compresses under load, it is almost certainly too hard for the job and is isolating far less than it could. If it visibly sags or looks squashed, it is too soft. A healthy mount settles into the middle of its rated range.
Common Mistakes Worth Avoiding
The most frequent error is choosing durometer by feel — squeezing a sample and deciding it seems about right — instead of matching published load-deflection data to the actual load. A close second is defaulting to a harder mount “to be safe,” which quietly sacrifices most of the isolation the mount was bought to provide; a too-hard mount can push the natural frequency up into the machine’s operating range and actually amplify vibration. The reverse mistake — going too soft under a heavy load — lets the equipment over-compress, sit unstable, and wear the mount out early. And using one durometer across unevenly loaded feet leaves the machine tilting and isolating inconsistently. Nearly all of these trace back to the same root: picking hardness before working out the load each mount carries.
Getting it Right the First Time
Durometer is a small spec that decides a lot. Held to the load, it lets a mount deflect exactly enough to isolate well without giving up stability; chosen carelessly, it undoes the whole point of installing a mount. The reliable path is always the same — find the per-mount load, know the frequency you are isolating, and choose the softest durometer that safely carries the weight.
If you are unsure which hardness fits your equipment, that is exactly the kind of question RPM Industrial Rubber Parts answers every day. With more than 50 years of rubber expertise and a full range of mounts across the durometer spectrum, RPM can match published load-deflection data to your application — and when a standard part is not the right fit, RPM’s proven process takes a custom mount from consultation and design through prototype, production, and delivery.